

How To Draw Warrior Cats For Beginners
So i like to draw a lot, mainly cats, and have picked up a few tricks and stuff when drawing kitties to share with you guys. What that being said, I kinda thought that how about when sharing these little tricks/tips, I make little tutorials? Hopefully they fit the guidelines...yikes and sorry if they don't...but uh here it is!
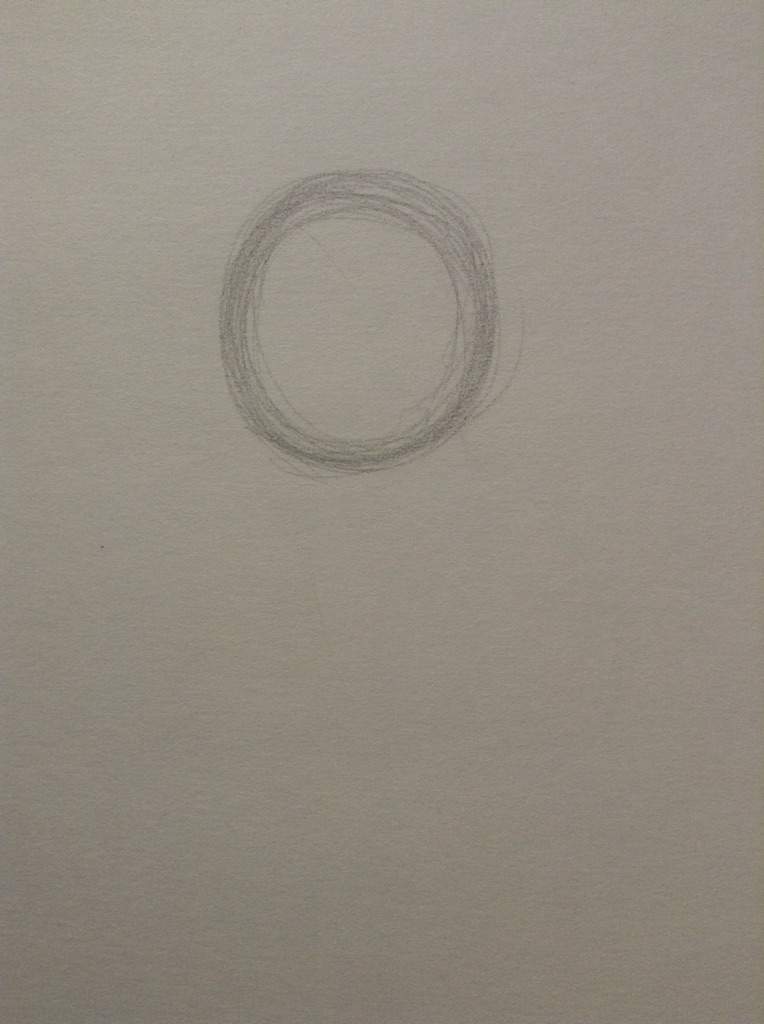
Step 1: Lightly sketch a circle for the head. Don't press likewise dark on the pencil.
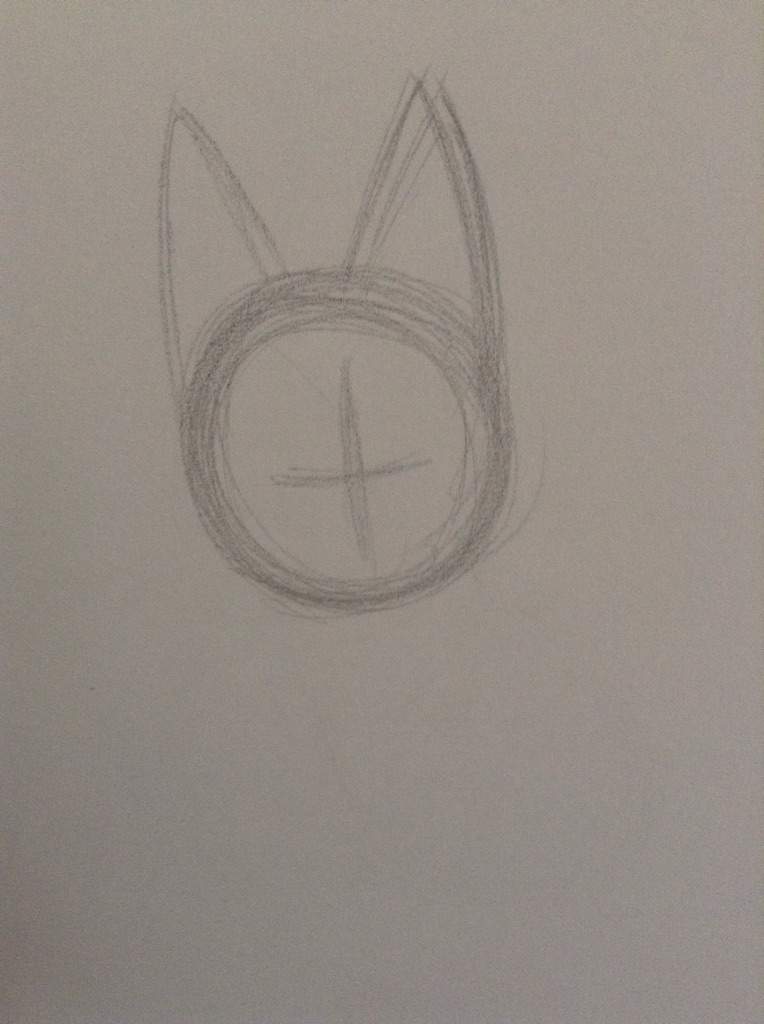
Step ii: Sketch out were and how y'all want the ears and the cross thingy for lining up and centring the facial features.
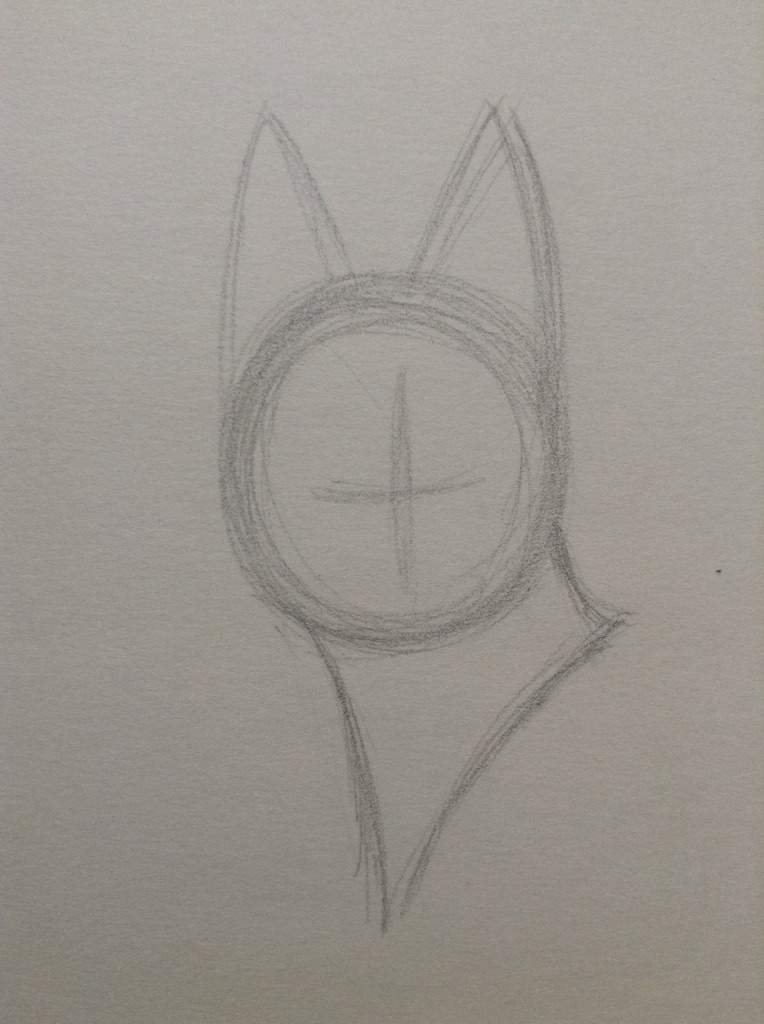
Step iii: Make this weird triangle/rectangle shape for the cervix. Keep it fatigued in lightly and make certain information technology'south a decent neck size.
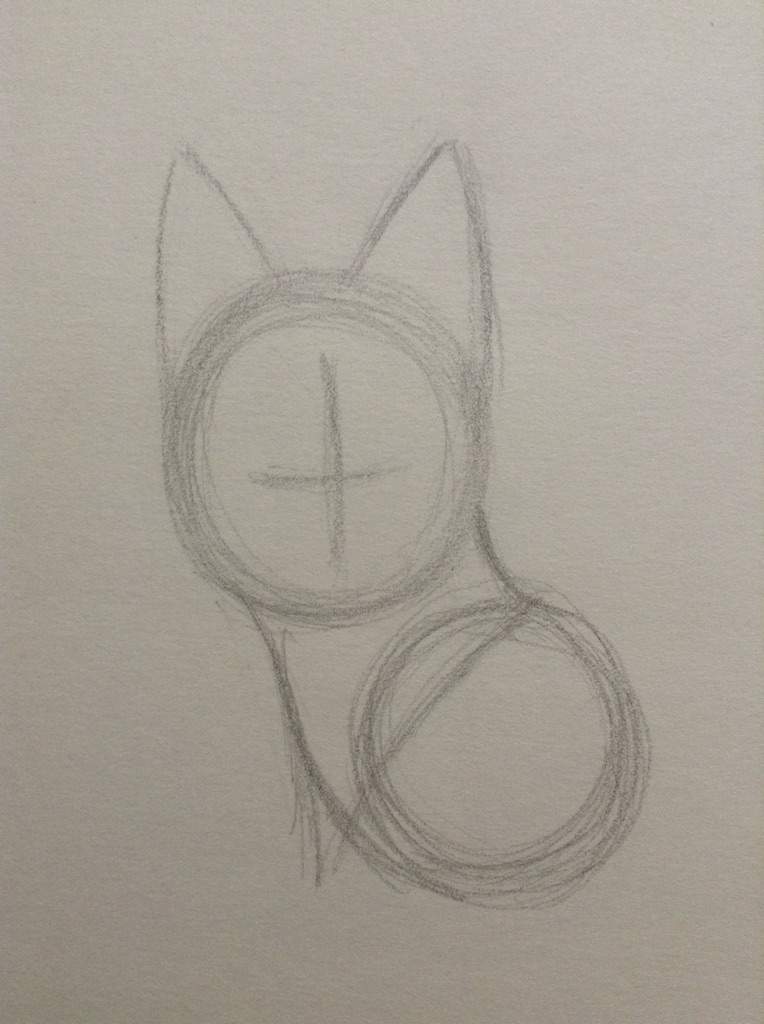
Footstep 4: Roughly at the end of the neck function, draw some other circle nearly the size of the caput (no demand to be precise) and round the neck part so information technology connects to the bottom of the circumvolve.
Step five: Sketch out a slightly curved line for the spine of the feline, adding a 2d circle connected to it. That will be the rump or pelvic expanse for the cat.
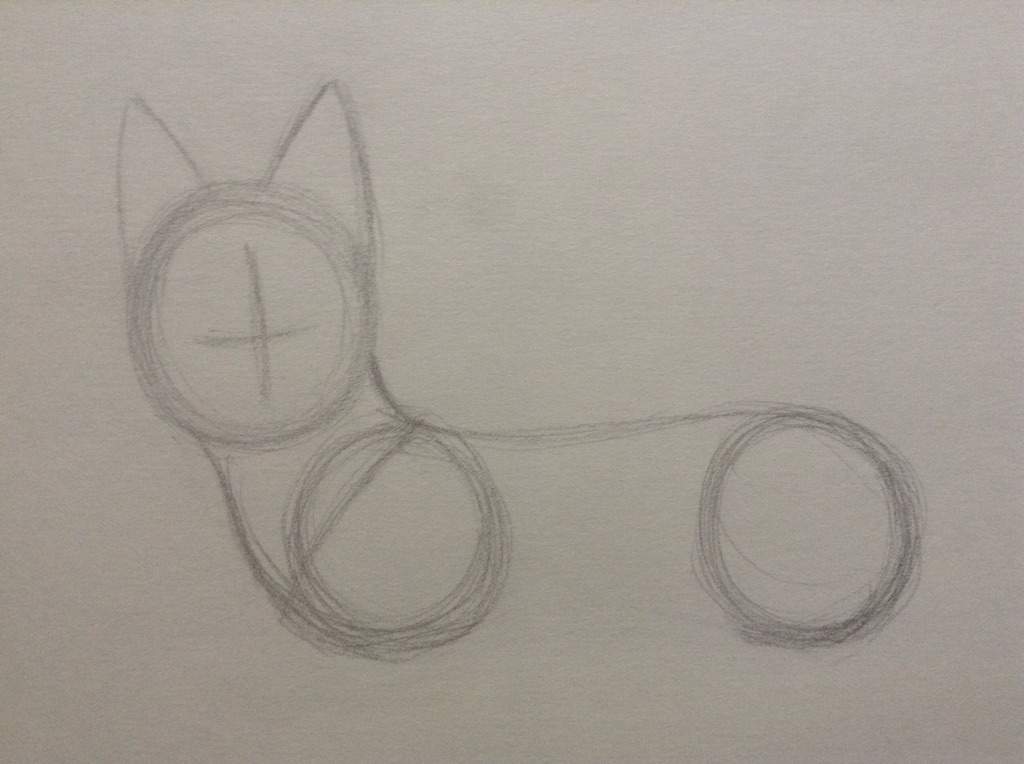
Pace 6: Connect the two circles with a curved line beneath it, serving as the underbelly function of the cat. Try non to make the cat also curvy or skinny every bit you want to remember at that place are still organs within the cat! Also draw a smaller circle within chest circle for the shoulder.

Step seven: Sketch out the start front leg, remembering to not make it too stubby unless the cat is petit or young.

Following this guide of having it washed in shapes helps!
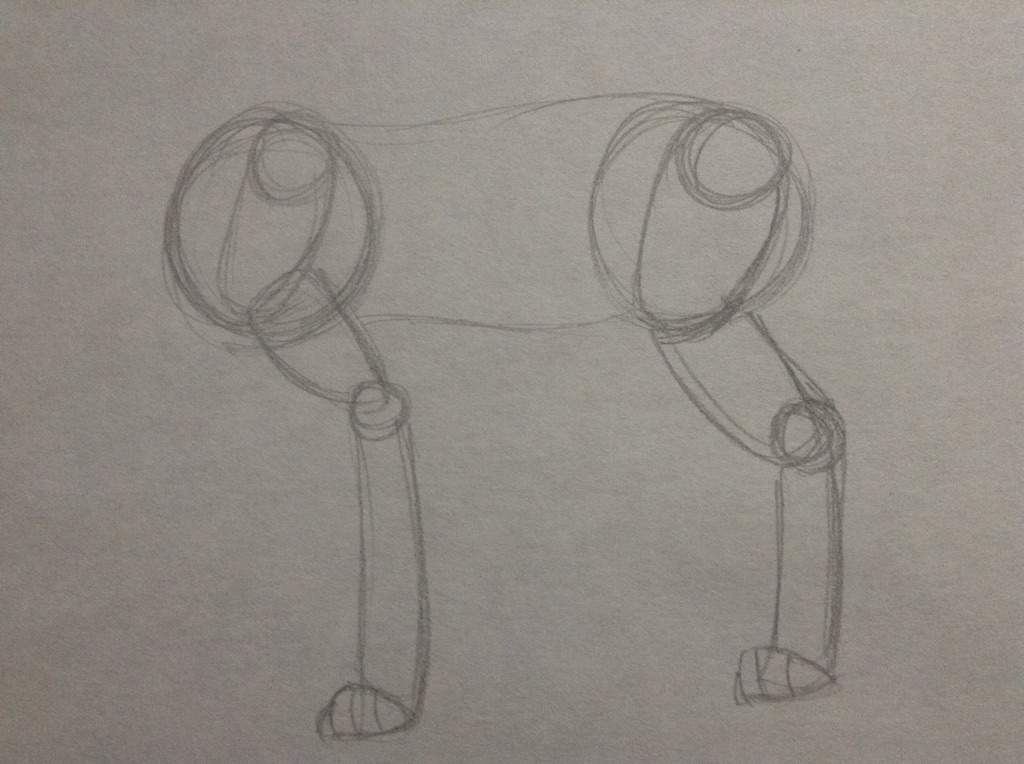
Step 8: Do this for the other remaining legs, post-obit the shape leg guide thingy in a higher place.
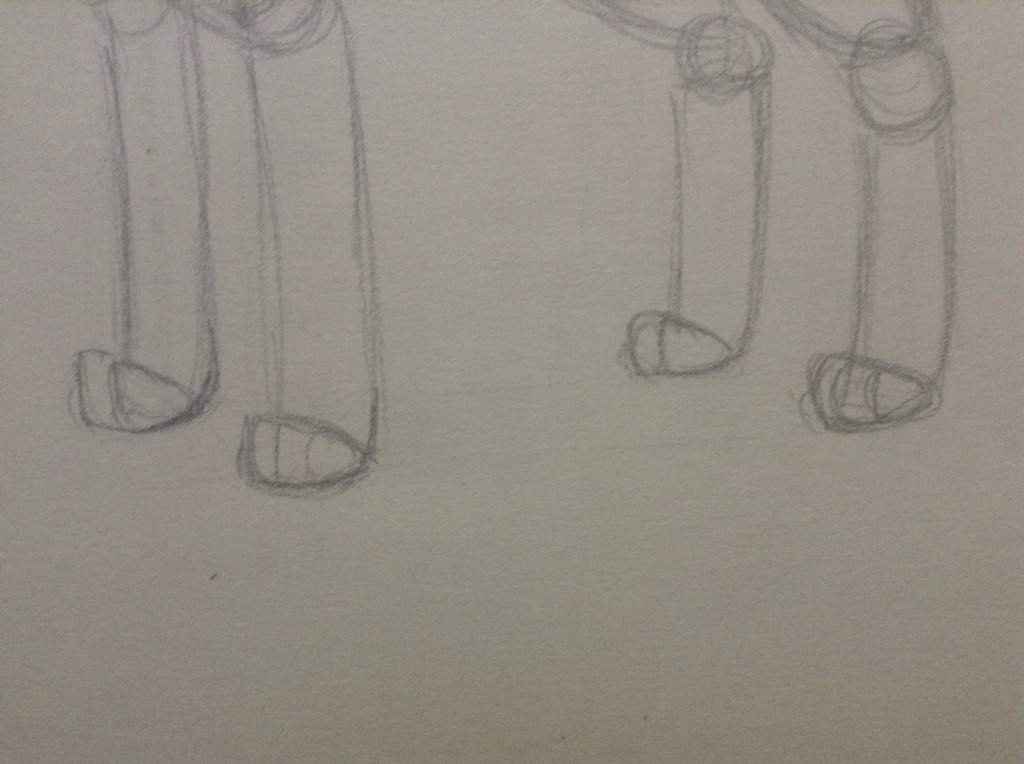
Stride 9: Add together in the shape for the paws, using also half circles
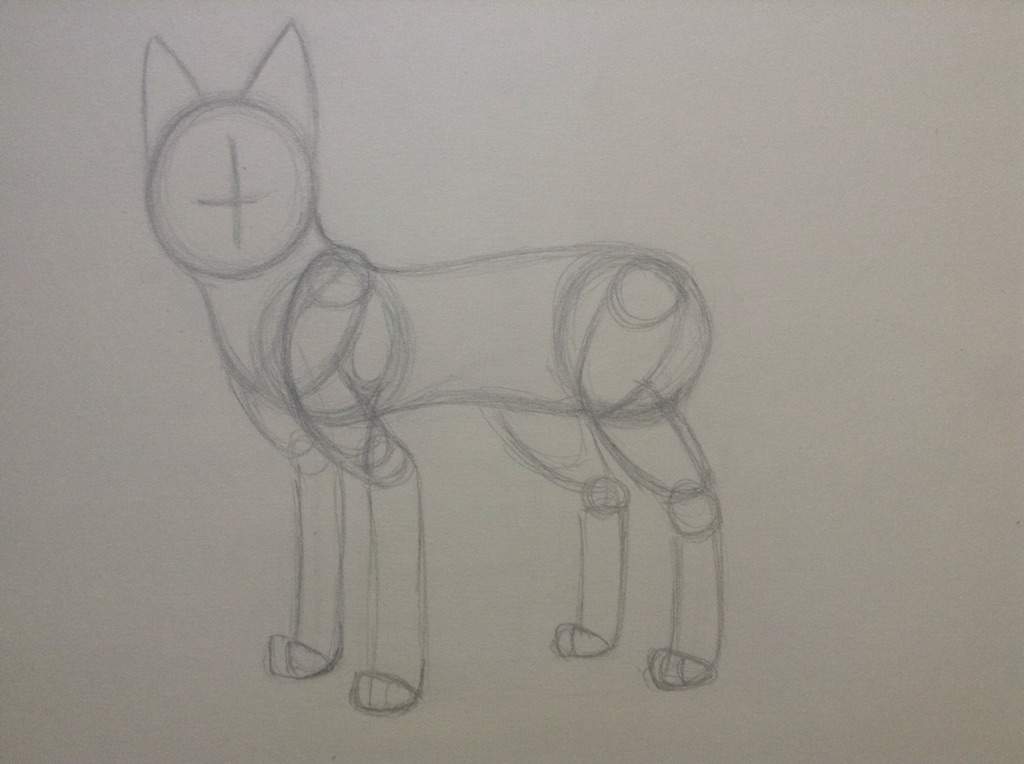
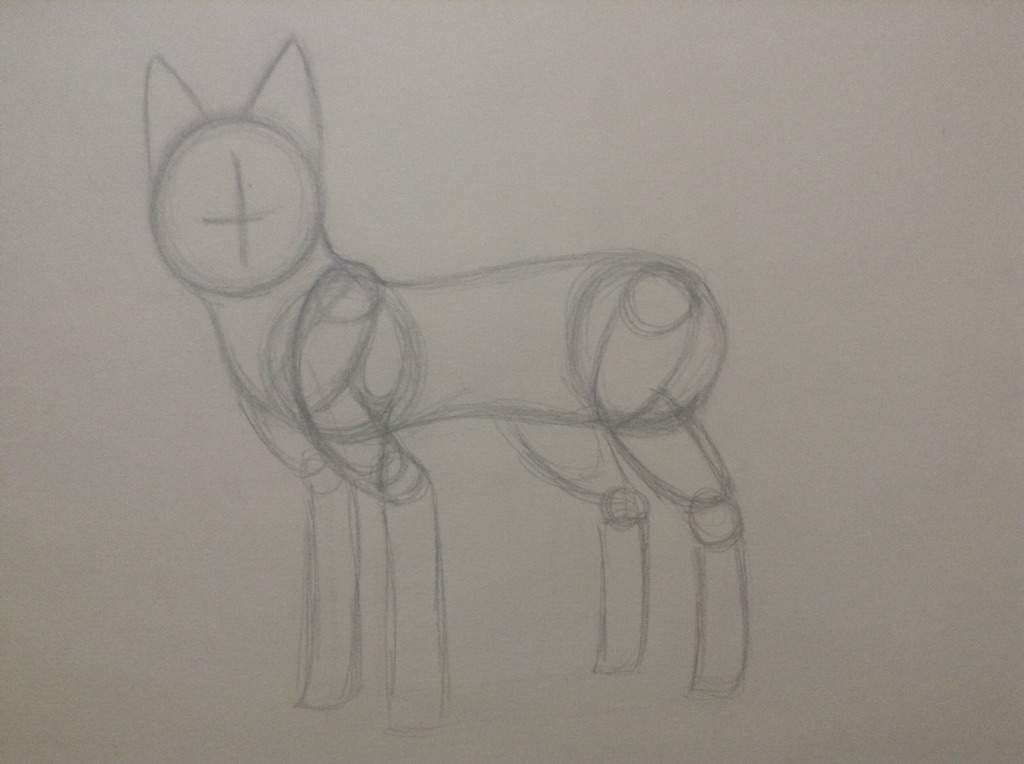
Stride 10: Form the toes by splitting the half circle in parts and curving each one to a bean like shape. It helps if yous take a reference photo of cat paws (my reference that I use occasionally is my aunt'southward true cat, Phoenix).

Step 11: Round out all the blocky parts (use a reference photograph if needed) and add together a tail which starts from the meridian of the third circle (the rump of the cat). Go along in heed the fur length of your feline to decide the tail (long haired cats are more prone to fluffy, plumy tail whilst short haired cats have sleeker tails, or some even take bobs)

Step 12: Clean up the drawing by erasing any unneeded or wanted lines, slightly darkening the lines you wish to keep.

Step 13: Add the details like the fur fluffs where ever you desire it,

continue in mind the length of hair of your cat as certain breeds have different hair lengths

Step fourteen: Add together the eyes, nose, mouth and whiskers (which I forgot until the end)

Stride fifteen: Decorate it and pattern you cat however y'all please! :)

I really hope this wasn't also complicated and i find if yous option up your own little tricks, you can add your own personal flair to your felines (i also found looking at other artwork, like from the YouTuber, Riverspirit, helps you learn diverseness and notice what works for you). If you want, mail a picture of your cat in the comments or leave suggestions of what tutorial side by side I should exercise (colouring, shading, side profiles, etc.).

Source: https://aminoapps.com/c/warriors/page/blog/how-to-draw-warrior-cats-tutorial/m6N2_bvukuxv82Ga2eG6aNZMn8oZLPZpJk
Posted by: levinespinat.blogspot.com
0 Response to "How To Draw Warrior Cats For Beginners"
Post a Comment